Relief Printing
- Help students connect art to everyday life
- Be able to make deep observations and assist students in doing so.
- Effective use of line in artwork..
- Show flexibility in trying new materials and techniques.
- Recognize the role that color plays in artwork.
- Styrofoam relief block
- Dull pencil
- Water-based relief ink (1 per class)
- Paper, sized to be able to fold the foam block into it.
- Brayer (1 for every 3-4 students)
- Paper plates (1 for every 3-4 students)
- Construction paper in various colors, at least 1" bigger than the foam on all sides.
- Cotton swabs **optional (1 box per class)
Step by Step Instructions

1 Getting Started
The first step is to have the student draw out their image. I’ve found that it’s easier if the paper is cut to twice the height of the foam block, so that when folded in half the foam block fits right in. Simple is best for these drawings. What they draw will be reversed when they print, a mirror image. It is easiest to discourage words on their images, but some students are insistent. If that happens, the easiest thing to do is to have them use a dark marker on their piece of paper to write their word down, then flip it over and trace over it. Instant reverse image!

2 Make a Foam Block Sandwich
Fold the paper so that the drawing is on top, and the foam block fits nice and snug inside.

3 Time to Trace
Students use a pencil to go over their lines. If they use a colored pencil, it’s easier to see where they’ve traced. They need to press hard enough to leave an imprint in the foam, but not so hard that it pokes through the paper. This is where the pencil being dull comes in handy!

4 Go Over Those Lines
Students will be able to see a light imprint of their image. Next they trace over all of their lines, making them thicker and deeper. Again, a dull pencil works best for this, it makes a wider mark and won’t poke a hole in the foam

Having wider and deeper lines will give the best prints. Now that I’ve traced over this image, and made the lines nice and wide, this block is going to print really well.

5 It's Time to Print!
There are options for surfaces to roll the ink on. I find that paper plates work okay, but old cleaned meat trays would be better due to their size and shape. Put a dab of ink on the paper plate. Err on the side of using less for this. Too much ink will fill in the block’s lines. It’s easier to add more ink than to remove it.
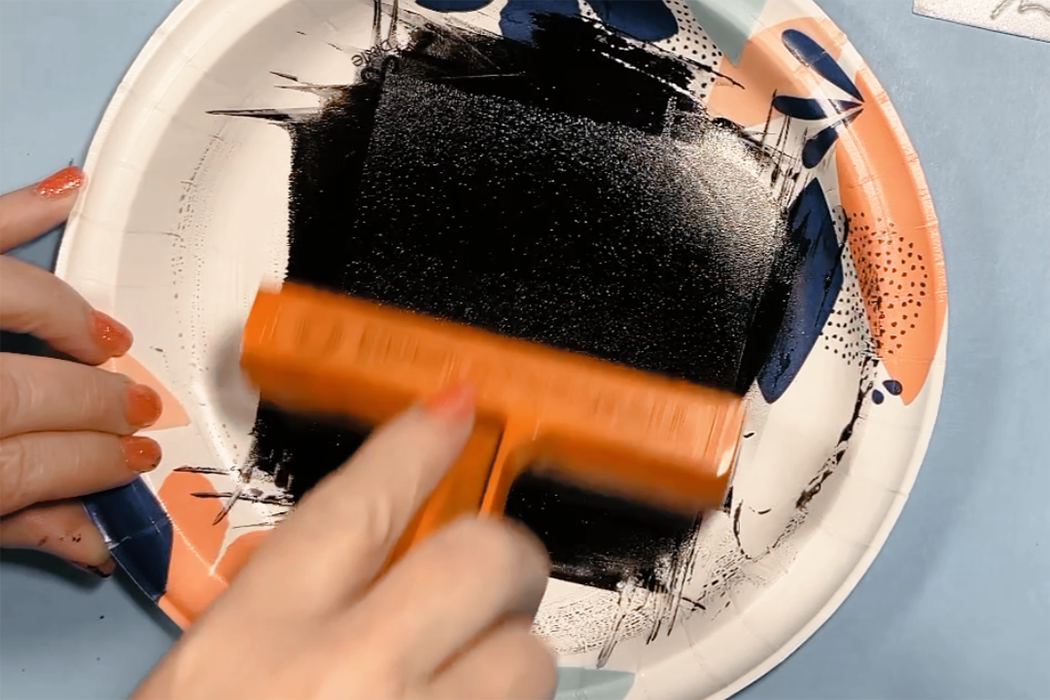
6 Roll it Out
Roll the ink with the brayer until it’s nice and even. The ink will make a light clicking sound as you roll it when you have rolled it out enough. Visually, the texture will look velvety.
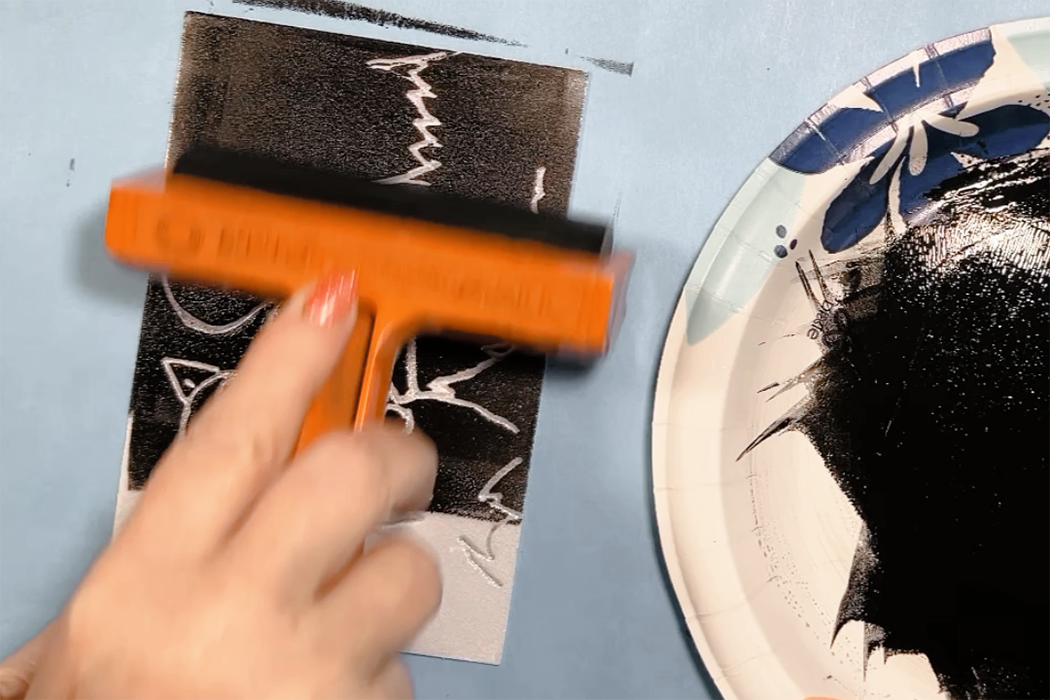
7 Ink the Block
Once the ink is rolled out nice and even, and the brayer is loaded with ink, roll it over the printing foam.
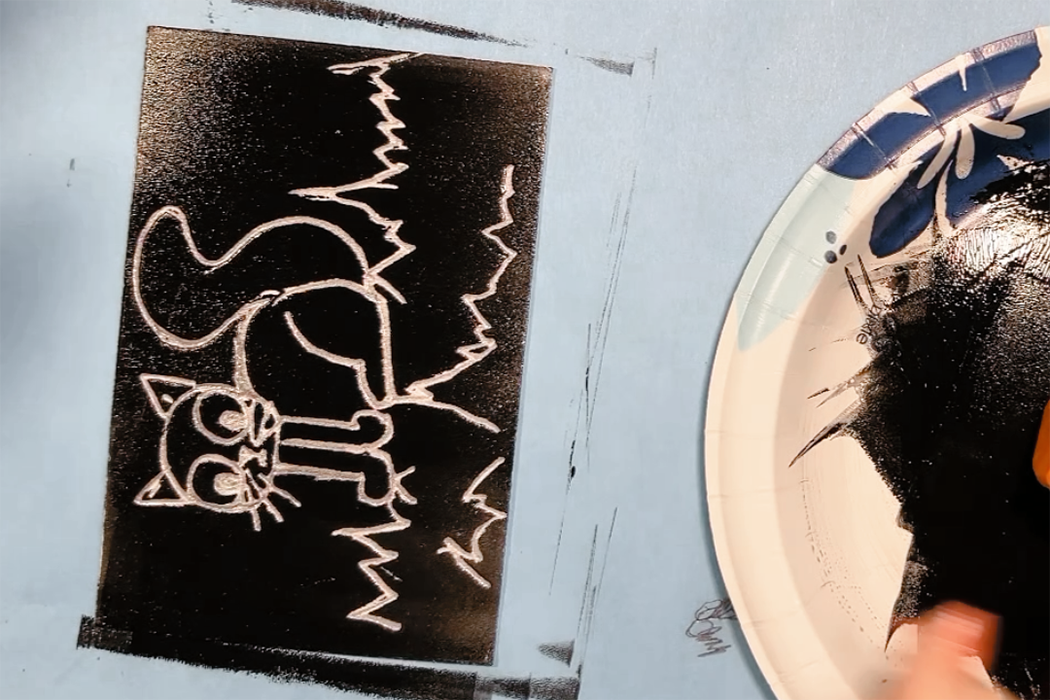
The coating should be solid, but the lines still clean. If the lines filled in, they can be cleaned out by using a cotton swab.
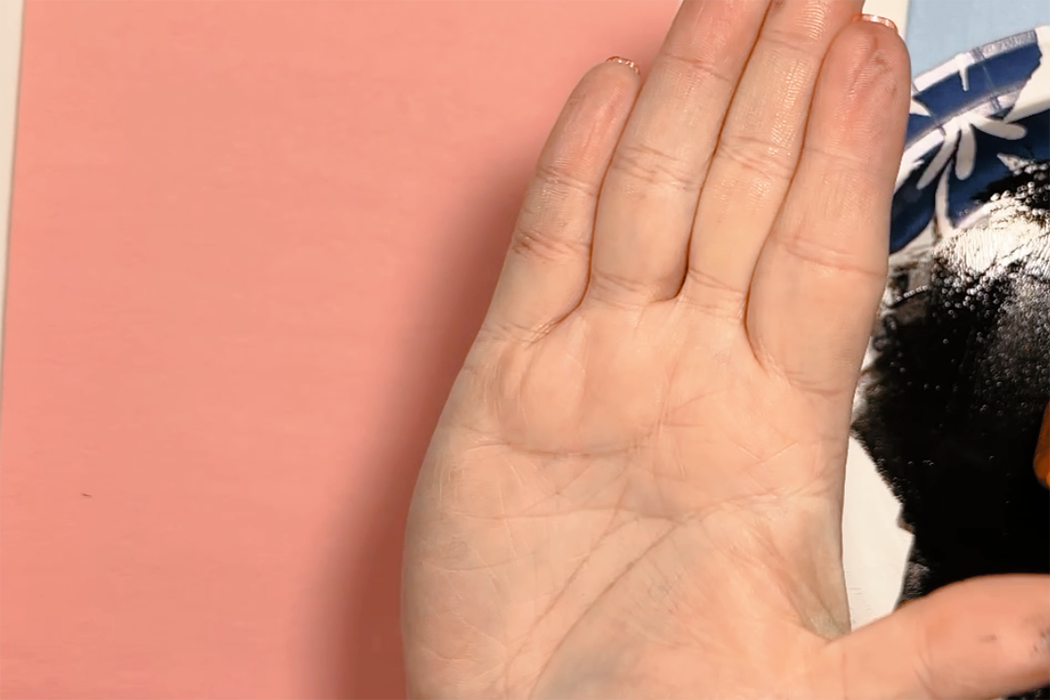
8 Placing the Paper
Construction paper is laid on top, so that it covers the entire block. This step should be done carefully. Once laid down, it can’t be lifted up until the print is finished. It's nearly impossible to line it up perfectly again. For the next step, use a nice flat hand, with fingers pressed together.
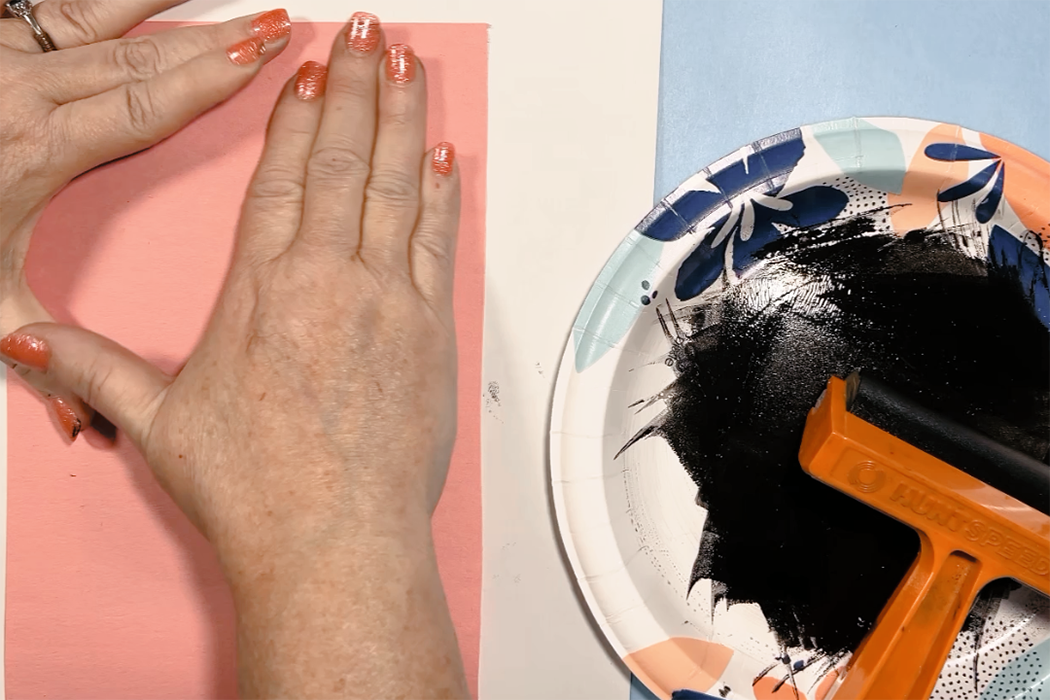
9 Press the Paper
Rub the back of the paper using a nice flat hand and making sure to get all of the edges. Put some pressure on it.
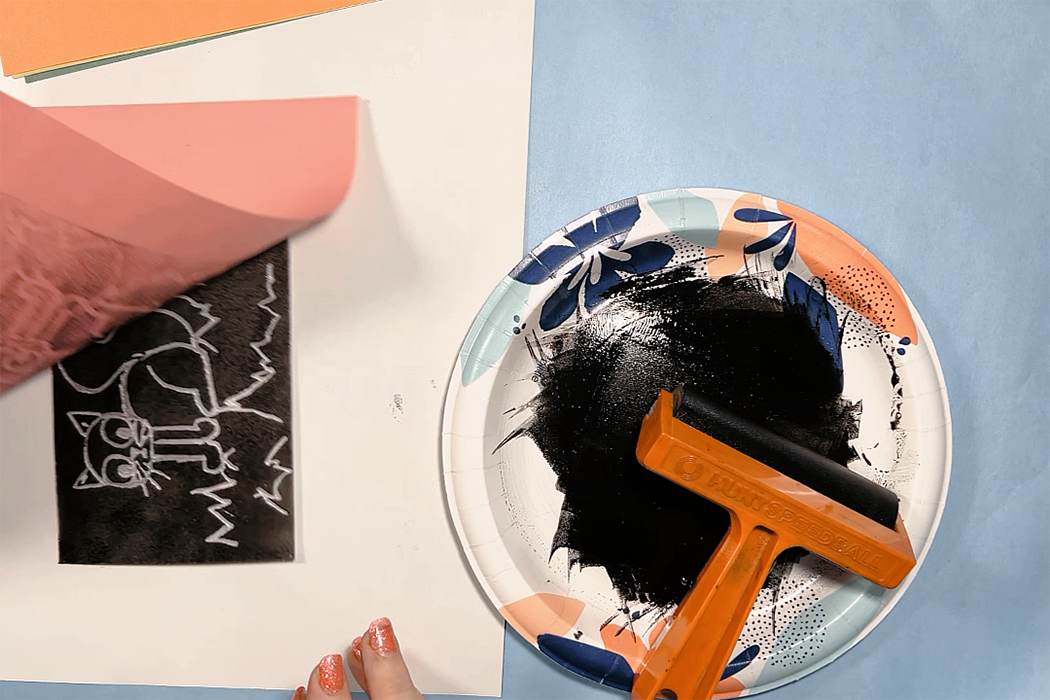
10 The Big Reveal
Peel the paper up to see the first print!
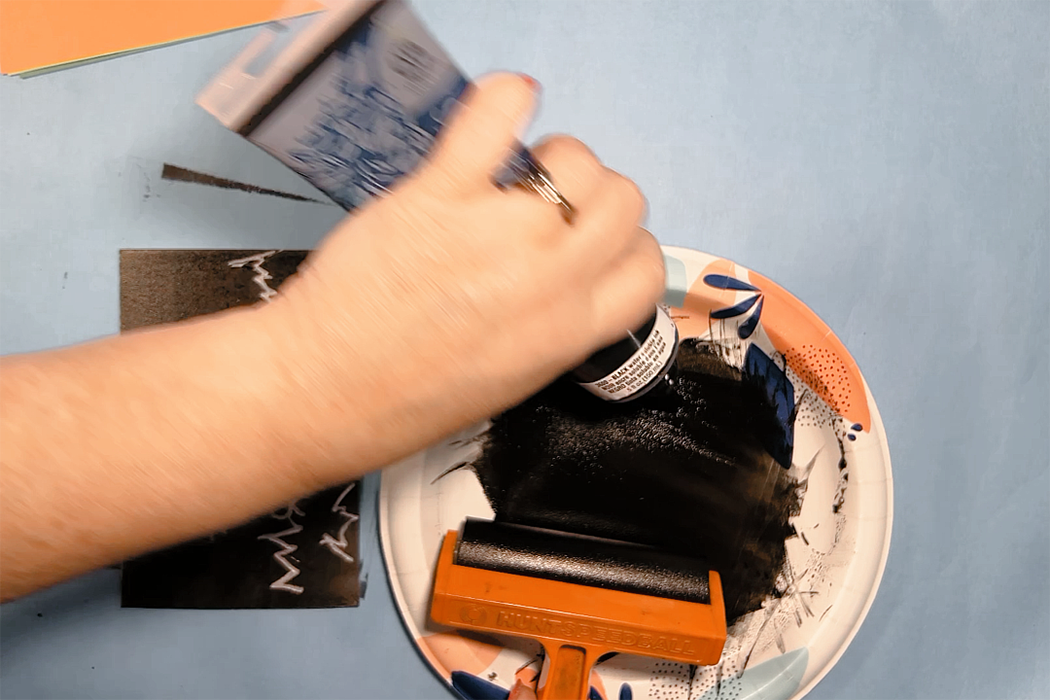
11 Adding Ink
If the print is light, it might be time to add a bit more ink. It will need to be rolled out just like in step 6.
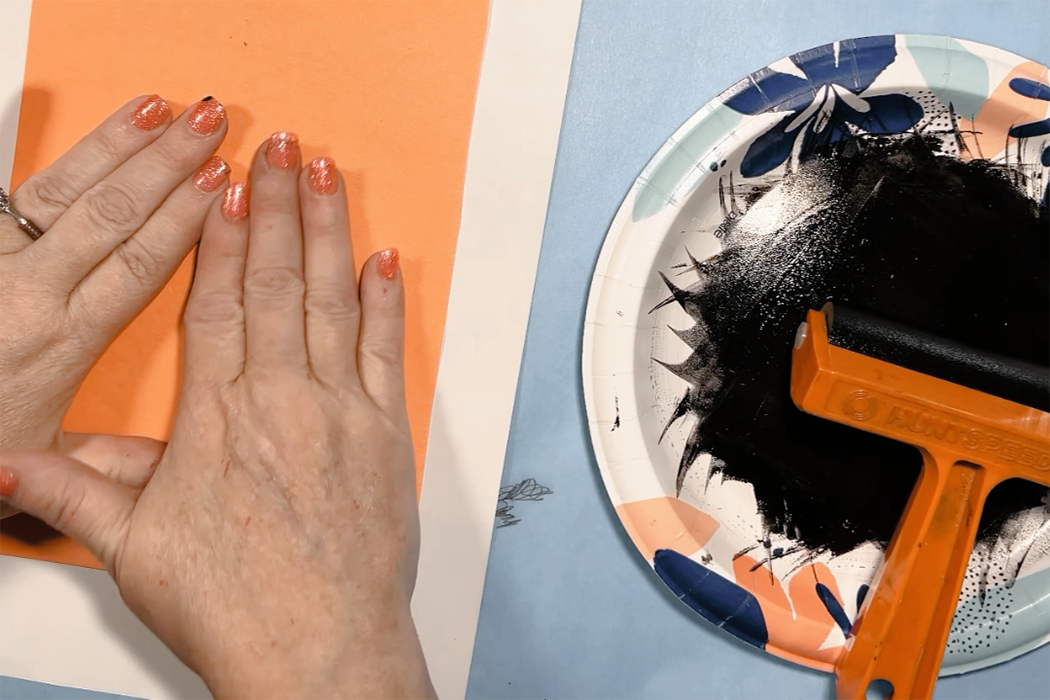
12 More Prints
If desired, students can be allowed to rinse off and dry their foam plates to use a different color of ink. Depending on the class dynamic, it can cause long lines at the sink.
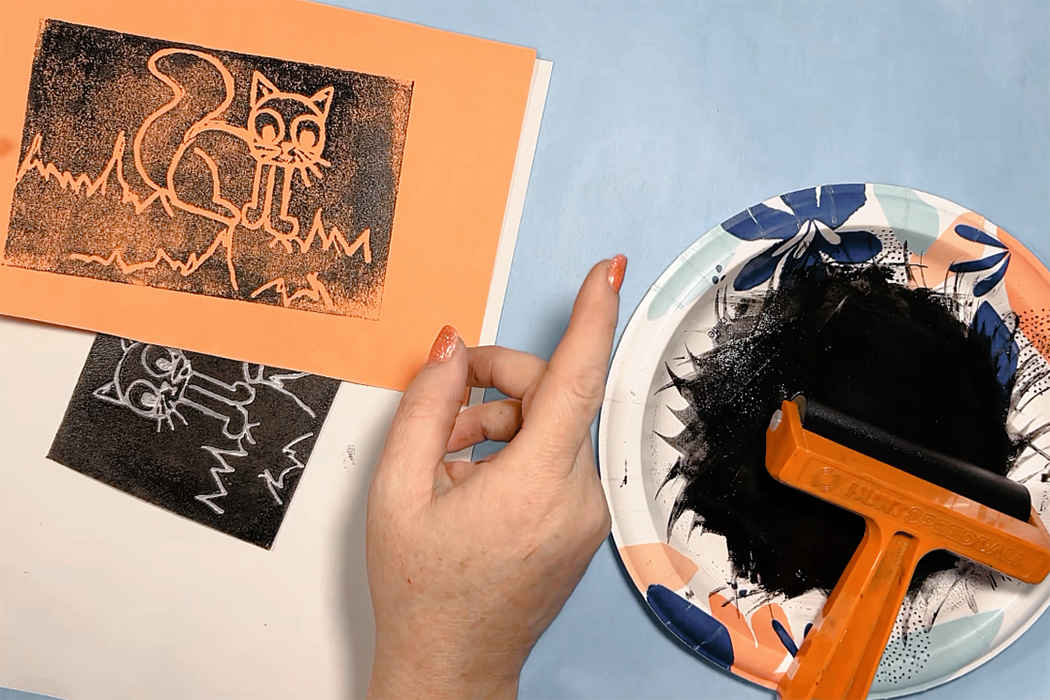
It’s fun to just use the same color over and over with different colored construction paper.
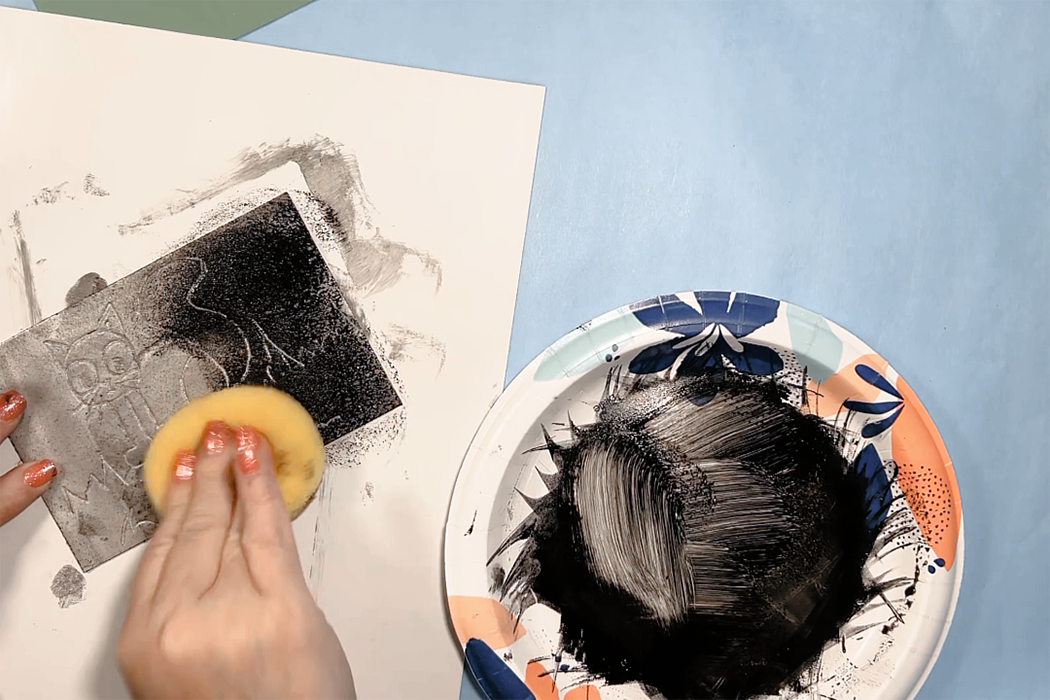
13 A Second Technique
If acquiring the brayers presents a challenge, they are the most expensive supply for this project, sponges will work. The sponges should be fairly firm and have smaller holes. The risk of filling in the lines with ink is much higher with this method, but could work for an older class that can take care while sponging.
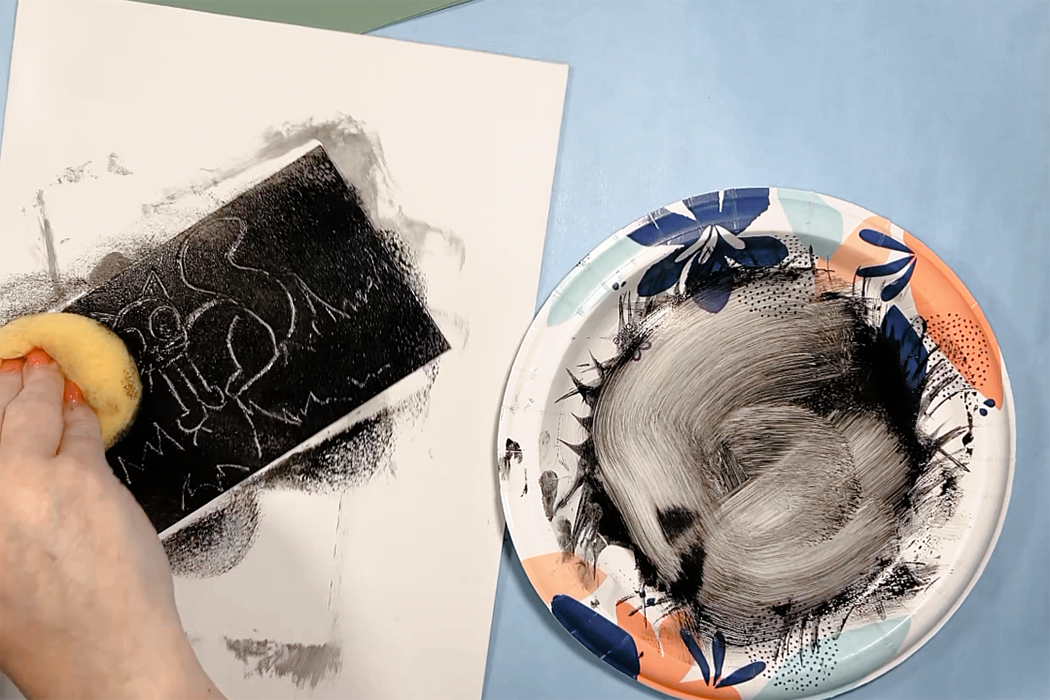
Ink usage is also higher with this method. But again, it is doable!
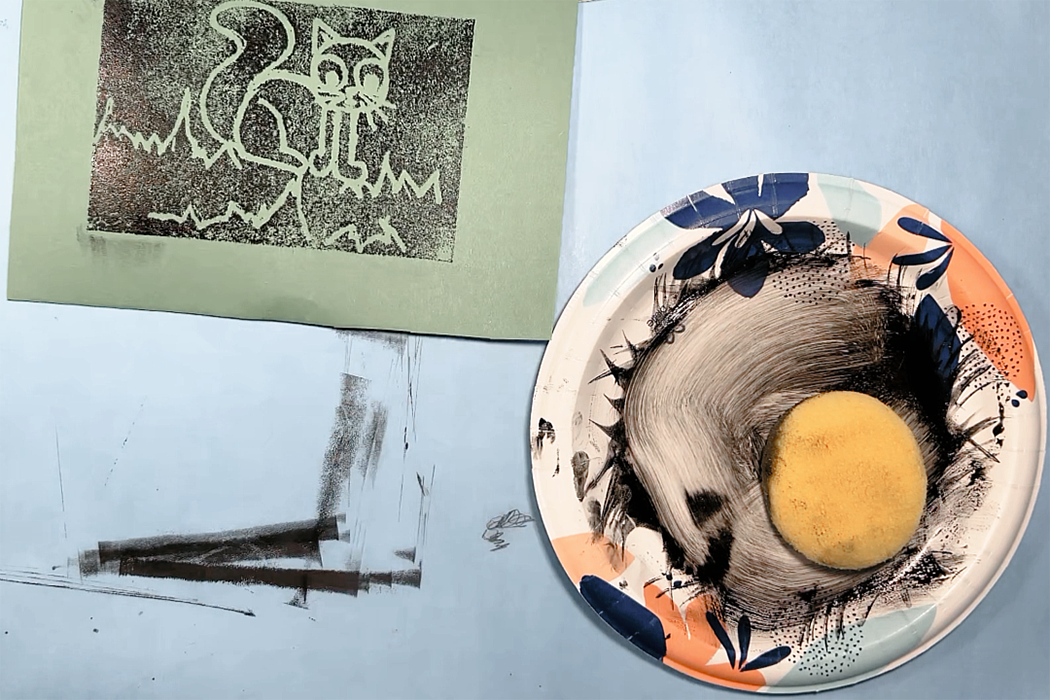
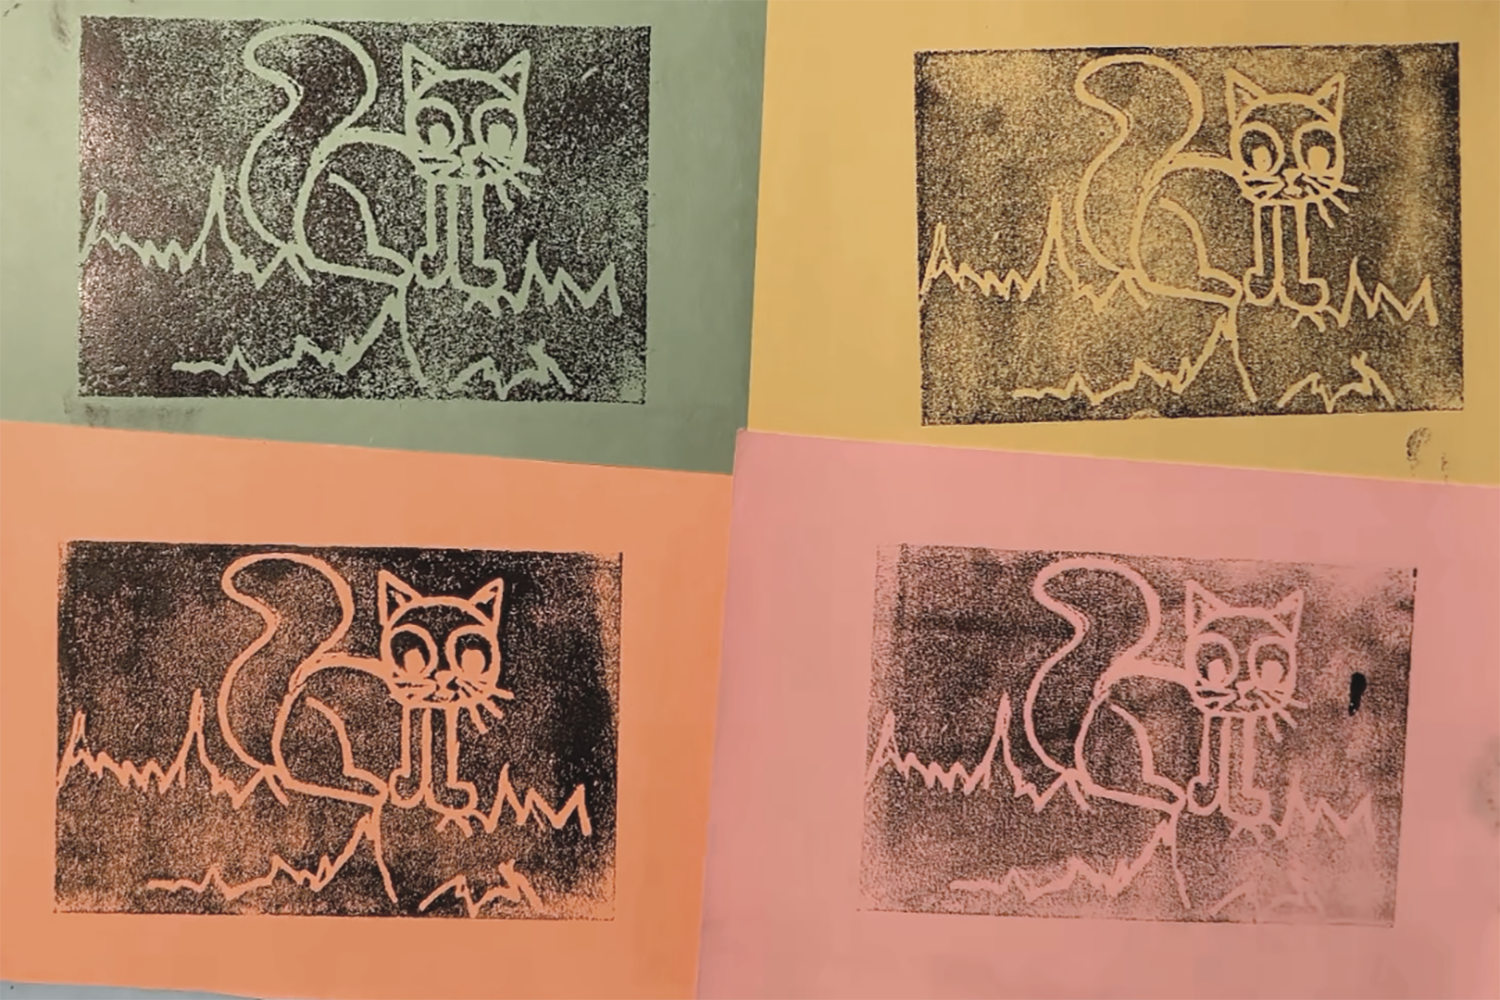
The print turned out better than I expected. Using a flat hand to press the construction paper is key. Even if there is a bit of ink in the lines, using a flat hand helps to mitigate the issue while printing.
14 Debrief
This project works well as a stand-alone, without tying into anything else. But if there is a desire to expand it into an art history lesson, Pop Art is an excellent choice, and easy for students to make the connection between what they just made and the Pop Art style. A debrief discussion with students can be useful for them as well as an opportunity for feedback for the instructor.